
Will Reclaimed Wood Warp? Movement, Acclimation, and Getting Install Right
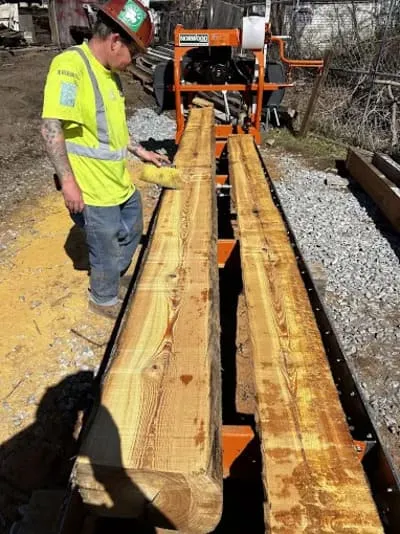
Yes, reclaimed wood can expand and contract as humidity changes. It can cup, crown, or develop gaps if it’s installed before the wood and the room are ready. Old-growth boards often behave more predictably than fast-grown new lumber, but no wood is immune to moisture movement.
The good news? Careful preparation and installation can help manage that movement. Here’s what to know before choosing reclaimed wood flooring.
Why does reclaimed wood move?
Wood takes in and releases moisture as the temperature and relative humidity around it change. As its moisture content changes, its dimensions can change too, mostly across the board’s width. Lengthwise movement is generally much smaller.
That’s true even for old lumber. Many old-growth boards have tight growth rings and dense heartwood. They may also have already lost much of the moisture they held when first cut. Those qualities can make some reclaimed material less prone to dramatic changes than certain newer boards. But species, grain orientation, how the wood was dried, and the home’s conditions all matter. Age alone isn’t a guarantee of stability.
Grain direction matters, too. In plain-sawn boards, growth rings tend to run more parallel to the wide face. These boards can move more across their width than quarter-sawn or vertical-grain boards, where the rings are more nearly perpendicular to the face. That doesn’t make one cut right for every project, but it’s worth considering when selecting boards.
Reclaimed boards can also carry checks, knots, mineral streaks, taper, and old repairs. Those features are part of their history, and they’re worth reviewing during material selection. They aren’t the same thing as a new moisture-related problem.

What can go wrong if you skip acclimation?
If flooring is installed while it’s much wetter or drier than the home it’s going into, it can keep changing after installation.
As conditions shift, boards may cup (edges rise above the center), crown (the center sits higher than the edges), or open small gaps. The exact result depends on the conditions and where moisture is coming from. Sometimes the signs show up during the first heating or cooling season, when indoor humidity changes.
That doesn’t automatically mean the wood was defective. It may mean the flooring, subfloor, or room wasn’t ready, or that a moisture issue in the building needs attention. A sound installation starts by checking the whole setup, not just the boards.
Acclimating reclaimed wood: what “ready” means
Acclimation is often described as leaving wood in a room for a set number of days. But a calendar can’t tell you whether the wood and the home are compatible.
The National Wood Flooring Association (NWFA) installation guidelines describe this more accurately as conditioning: preparing the wood for the environment where it will perform. For reclaimed flooring, the NWFA says the material needs to be dried to a moisture content that fits the home and installation environment.
In practice, preparation should include:
- Getting the building ready first. The home should be enclosed, wet work should be complete and dry, and the heating or cooling system should be running under normal conditions.
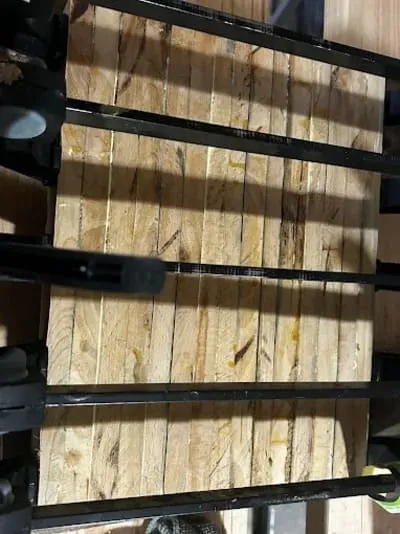
- Storing boards for airflow. Keep material off the floor, with spacers between layers when needed, so air can reach the boards. Follow product-specific instructions for packaging and stacking.
- Protecting the wood. Avoid direct exposure to rain, standing water, damp concrete, and extreme temperature changes.
- Measuring both the wood and the subfloor. A moisture meter can help assess the boards, while the subfloor needs an appropriate test for its material. The indoor temperature and humidity matter, too.
- Using readings, not a countdown, to decide. The goal is to confirm that the wood, subfloor, and expected home conditions are compatible. The right target depends on the project, wood, and manufacturer guidance.
If the material or room is still changing, more time or a closer look may be needed before installation. Don’t rush the decision just because a delivery date is on the calendar.
Check the site, not just the boards
Some of the biggest moisture questions are under the floor or still inside the building.
Crawl spaces: Check for dampness, poor drainage, or moisture coming up from the ground. Conditions below the floor can affect the subfloor and the boards above it.
Basements: An unfinished basement may have different humidity and temperature conditions than the living space upstairs. A basement that’s later finished or heated differently can change the conditions around the floor.
Radiant heat: Wood flooring over radiant heat needs extra planning. Follow the flooring and heating-system manufacturers’ instructions, and check that the wood and installation method are suitable.
New construction: Concrete, plaster, drywall, and other wet work can leave moisture in the building. The home needs time to dry and the HVAC system needs to be operating under normal conditions before flooring goes in.
Before install day, it’s worth checking for leaks, damp areas, wet subfloors, and big differences between the expected indoor conditions and what’s actually happening on site. If there’s a known moisture problem, deal with its cause before putting wood over it.
Plan for movement instead of fighting it
Good installation doesn’t try to make wood stop moving. It gives the floor room to move in a controlled way.
Board width, grain orientation, layout, and the room’s seasonal humidity can all inform material choices. With wider or random-width flooring, some seasonal gaps may be part of normal wood behavior. The installation also needs appropriate space at fixed edges, such as walls and cabinets, following the product and installation requirements.
Finishes can help protect the surface, but they don’t make wood waterproof or stop seasonal movement. The right finish is one suited to the wood, the room, and the care you’re prepared to give the floor. And indoor humidity matters after installation, too. Keeping the home within the flooring manufacturer’s recommended conditions can help limit large swings.
This is where experience with old material helps. A thoughtful plan considers the boards’ character, how they’ve been prepared, and what the room is likely to do throughout the year.
How I approach reclaimed flooring
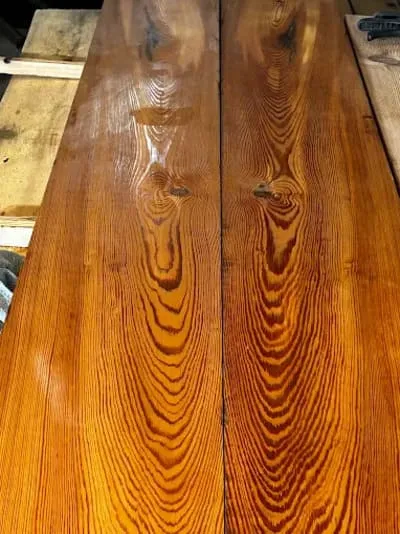
At Toy Town, I look at the material and the project together. That means conditioning wood for the space, checking moisture conditions on site, and planning the installation with movement in mind, not treating reclaimed lumber like a product that behaves exactly the same in every home.
I work on flooring projects throughout Massachusetts, and shipping is available beyond the state. You can also browse the gallery to see reclaimed wood in finished spaces, or review our reclaimed wood and other custom work, including box beams and focal walls.
A quick safety note: Mantels and beams need proper support and clearances. Decorative box beams aren’t structural supports. For fireplace mantels, follow the appliance manufacturer’s clearance instructions and applicable local codes; ask a qualified professional about structural questions.
Have a flooring project in mind?
Send me a few photos and room measurements, and let me know what season you’re hoping to install. I can bring sample boards to you, so you can see how the wood looks in your space.
I offer free estimates with no consultation fee. Call (978) 210-0221, email sam@toytownvintagesalvage.com, or contact me here. I’ll help you figure out a sensible next step. You can also read more from the shop.